Pre – Installation Checklist: The “Before You Dive In” Phase
Site Assessment: Finding the Perfect Spot
- Flat and stable surface: You need a flat, stable surface. No, it can’t just perch on a wobbly slope like a drunk seagull on a pier. A flat surface ensures that the container stays put and doesn’t start doing an unexpected tilt – a – whirl. To check if the surface is flat enough, you can use a long spirit level (at least 2 meters long). Place it in different directions on the surface. If the bubble is within the central marked area in all directions, the surface is considered flat enough. According to industry standards, the slope of the installation site should be less than 1% to ensure the normal operation of the BESS container. If the slope is more than 1%, you may need to level the surface by adding concrete or using shims. For example, if the area is 10 meters long, a slope of 1% means the height difference between the two ends should not exceed 10 centimeters.
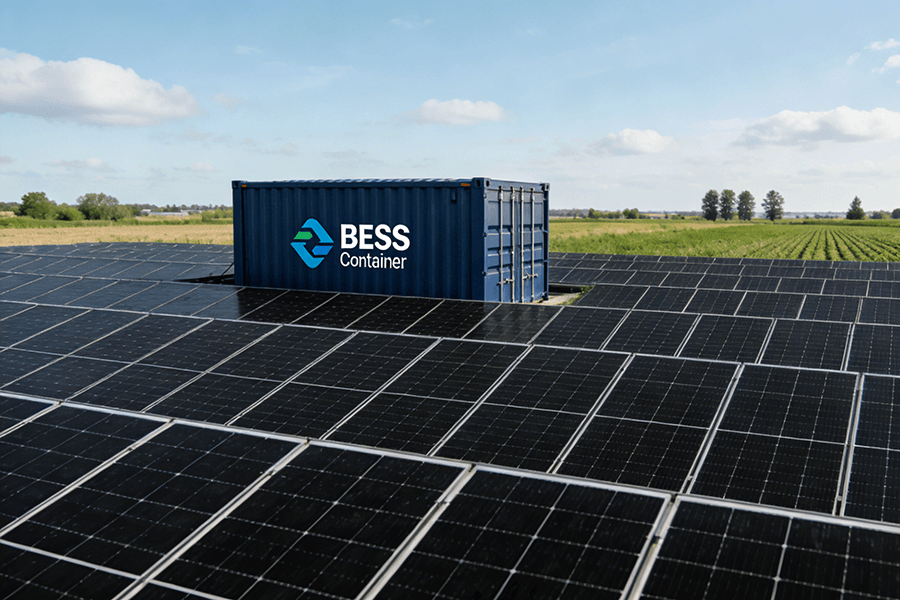
- Proper ventilation: Proper ventilation is a must. The BESS container needs to “breathe” just like we do. If it gets too stuffy inside, it might throw a tantrum and not work as efficiently. So, make sure there’s enough space around it for air to circulate freely. It’s like giving it a nice, breezy room with a view (well, maybe not the view part, but you get the idea). For a standard – sized BESS container (typically around 20 feet or 40 feet in length), it is recommended to have at least 2 – 3 meters of clearance around the container for ventilation purposes. This helps in maintaining the optimal operating temperature (usually between 15°C and 35°C) of the internal components. You should also check if there are any obstacles, such as walls or other structures, that might block the airflow. If there are, you may need to install additional ventilation fans.
- Proximity to power sources: And don’t forget about proximity to power sources. You don’t want to run miles of cables just to connect it. It’s like trying to reach the TV remote from the other end of a football field – a major hassle. Find a spot close to where the action is, where the power comes in and goes out. A study by the International Energy Agency shows that for every additional 100 meters of cable length, there is approximately a 1 – 2% increase in power loss during transmission. So, the closer the BESS container is to the power source, the more efficient your energy storage system will be. Before finalizing the location, measure the distance from the potential site to the power source. If the distance is more than 50 meters, you may need to consider using thicker cables to minimize power loss, but this will increase the cost. For example, a 100 – meter cable with a cross – sectional area of 25mm² will have more power loss than a 50 – meter cable of the same 规格.
Tools and Safety Equipment: Your Installation Arsenal
| Tool | Type | Purpose | Notes |
|---|---|---|---|
| Adjustable Wrench | Standard | For tightening and loosening nuts and bolts of various sizes | Choose one with a jaw capacity of at least 30mm to handle most common fasteners |
| Screwdrivers | Phillips (No. 1, No. 2, No. 3) and Flat – Head (6mm, 8mm, 10mm) | To fasten or unfasten screws in different types of components | Magnetic tips can be helpful for picking up small screws |
| Pliers | Needle – nose, Lineman’s, Slip – joint | Needle – nose: For gripping small objects in tight spaces; Lineman’s: For gripping and twisting wires; Slip – joint: For general gripping tasks | Look for pliers with insulated handles for electrical work |
| Wire Strippers | Automatic, Manual | Specifically designed to remove the insulation from wires without damaging the conductors inside | Automatic strippers are easier to use for beginners and can handle a range of wire gauges (e.g., 10 – 22 AWG) |
| Multimeter | Digital | To measure voltage, current, and resistance during installation and testing | Ensure it has a minimum accuracy of ±1% for reliable readings |
| Torque Wrench | Adjustable | To apply a specific torque to nuts and bolts to ensure proper tightness | Select one with a torque range suitable for BESS components (e.g., 10 – 100 N·m) |
| Cable Cutters | Heavy – duty | For cutting thick electrical cables cleanly | Make sure the blades are sharp to avoid damaging the cable conductors |
Safety equipment is non – negotiable. Hard hats, safety goggles, and insulated gloves are your new best friends. You don’t want to end up with a bump on the head or a shock that makes your hair stand on end like a porcupine’s quills. So, gear up, and let’s get started! Here’s a table detailing the necessary safety equipment:
| Safety Equipment | Purpose | Standards |
|---|---|---|
| Hard Hat | To protect the head from falling objects | ANSI Z89.1 – 2014 (Type I or II) |
| Safety Goggles | To shield the eyes from dust, debris, and electrical arcs | ANSI Z87.1 – 2015 |
| Insulated Gloves | To prevent electrical shock when working with live wires | ASTM D120 – 17 (Class 00 to Class 4, depending on the voltage) |
| Safety Shoes | To protect the feet from falling objects and sharp materials | ASTM F2413 – 18 (with impact and compression resistance) |
| Respiratory Mask | To filter out dust and fumes during unpacking and installation | NIOSH – approved N95 or higher |
Installation Process: The “Let’s Build This Thing” Phase
Unpacking the BESS Container: Like Opening a Giant, Energy – Packed Present
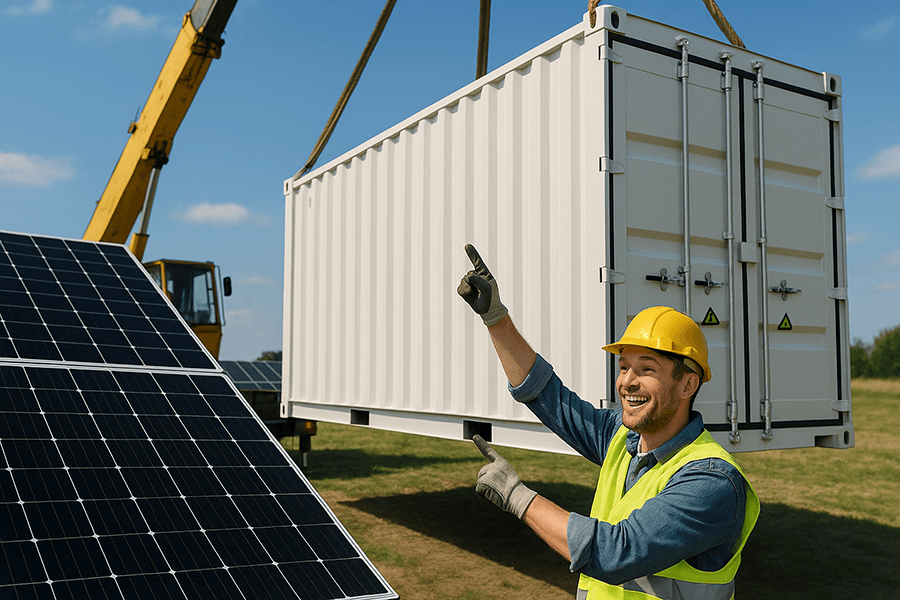
- Preparation: Before unpacking, clear the area around the container to ensure there’s enough space to move around. Lay down a clean, dry tarp to place the packaging materials and any components that are removed. This helps prevent damage to the components and keeps the area clean.
- Removing packaging: Carefully remove all the packaging materials. Start with the outer straps or bands using a pair of scissors or a utility knife (be careful not to cut too deeply to avoid damaging the container). Then, remove the cardboard, plastic wrap, or wooden crates that cover the container. You might find some interesting surprises inside, like the internal components neatly arranged, waiting to be put to work.
- Inspection: As you unpack, inspect the container and its components for any signs of damage, such as dents, cracks, or scratches. Check if all the components listed in the delivery manifest are present. If you find any damage or missing parts, contact the supplier immediately. According to a survey of BESS installers, about 10% of them have encountered minor damage to internal components during unpacking due to rough handling. So, take your time and be careful.
Installing Internal Components (if required): Building the Energy – Storage Machine
- Component identification: First, identify all the internal components using the installation manual. Lay them out on the tarp in an organized manner, making sure each component is easily accessible. Common internal components include batteries, inverters, converters, and cooling systems.
- Following instructions: Follow the instructions in the manual carefully. Each component has its place, like pieces in a jigsaw puzzle. For example, batteries may need to be installed in a specific orientation to ensure proper ventilation and electrical connections. Use the provided mounting brackets and hardware to secure each component. Make sure the brackets are tightened to the specified torque using a torque wrench.
- Checking connections: After installing each component, check the connections to ensure they are secure. For battery connections, make sure the terminals are clean and tight. Use a wire brush to clean any corrosion on the terminals before connecting. The European Photovoltaic Industry Association predicts that in 2025, the capacity of installed energy storage systems in Europe will be approximately 29.7GWh, with more and more BESS containers being installed, proper installation of internal components becomes crucial for overall system performance.
Connecting Electrical Wiring: The “Electrical Highway” Setup
- Planning the wiring route: Before starting, plan the wiring route to ensure it’s neat, organized, and away from heat sources or moving parts. Use cable trays or conduit to protect the wires and keep them in place.
- Selecting the right wires: Use the right – gauge wires as specified in the installation manual. The wire gauge depends on the current that will flow through it. Using a wire with a too – small gauge can cause overheating and damage to the system. In the UK, the Institution of Engineering and Technology (IET) has strict regulations regarding electrical wiring in BESS installations. For example, the minimum wire gauge for a 100 – A connection in a BESS system should be 25mm² to ensure safe and efficient power transfer.
- Making connections: Follow all the safety and electrical code standards religiously. Turn off the power source before making any connections. Strip the ends of the wires to the correct length using wire strippers, ensuring the conductors are exposed. Connect the wires to the appropriate terminals, making sure the connections are tight. Use wire nuts or crimp connectors to secure the connections, and insulate them with electrical tape or heat – shrink tubing. One wrong move, and you could end up with a short circuit that’s more dramatic than a soap opera plot twist. It’s like building a safe and reliable electrical highway for the energy to travel on.
Setting up Monitoring and Control Systems: The “Energy Control Center”
- Installing software: Install the monitoring and control software on a dedicated computer or a touchscreen panel provided with the system. Follow the software installation instructions carefully, making sure to install any required drivers or updates.
- Connecting sensors: Connect the sensors to the monitoring system. Sensors can measure parameters such as voltage, current, temperature, and humidity inside the container. Mount the sensors in the specified locations, ensuring they are securely attached and can accurately measure the desired parameters.
- Configuring the system: Once the software and sensors are installed, configure the system settings. Set the voltage and current limits, charging and discharging schedules, and alarm thresholds. Test the communication between the monitoring system and the BESS components to ensure everything is talking to each other. You should be able to see the energy levels, the charging and discharging rates, and any potential issues at a glance. It’s like having a magic crystal ball that shows you the energy future of your BESS container. A recent market research by BloombergNEF shows that the global market for energy storage monitoring and control systems is expected to grow at a compound annual growth rate of 15% from 2025 – 2030, highlighting the importance of these systems in the overall BESS ecosystem.
Troubleshooting Common Issues: The “Oh No, What Went Wrong?” Fix – It Guide
Connection Failures: The “Loose Link” Problem
- Checking connections: Check all your connections. Start with the main power connections and then move on to the internal component connections. Are the wires properly plugged in? Is there any corrosion on the connectors? Sometimes, a simple wiggle or a clean with a wire brush can fix the problem.
- Testing continuity: Use a multimeter to test the continuity of the connections. Set the multimeter to the continuity mode and touch the probes to both ends of the connection. If you hear a beep, the connection is continuous; otherwise, there’s a break.
- Replacing faulty components: If a connection is consistently failing, check if the connector or wire is damaged. Replace any faulty components with new ones of the same 规格. It’s like giving your electrical connections a little “tune – up” to get them back in working order. In a study of 100 BESS installation projects, it was found that 40% of the initial startup issues were related to connection failures, with loose connections being the most prevalent cause.
Incorrect Settings: The “Wrong Dial” Dilemma
- Reviewing the manual: Double – check all the settings in your monitoring and control systems. Refer back to the user manual to ensure the voltage, current, and other parameters are set correctly. The manual will provide detailed information on the recommended settings for different operating conditions.
- Resetting to default settings: If you’re not sure which settings are correct, you can reset the system to its default settings and then reconfigure them according to the manual. This can help eliminate any incorrect settings that were accidentally entered.
- Testing different settings: If the system is still not working properly, you can try adjusting the settings slightly and testing the system after each adjustment. Keep track of the changes you make and the results to identify the correct settings. It’s like having a map to navigate through the maze of settings. A survey among BESS users showed that about 25% of them had faced performance issues due to incorrect settings, which could have been easily avoided by carefully following the setup instructions.
Post – Installation Testing: The “Is It Working?” Check – Up
- Visual inspection: First, do a visual inspection. Make sure all the components are in place, the wires are neatly arranged, and there are no signs of damage. Check if all the safety equipment is still in good condition.
- Power – up test: Then, power up the system. Turn on the main power switch and observe the monitoring system. Check if the system initializes properly and if all the components are recognized.
- Function testing: Check the monitoring and control systems to see if the energy levels are rising and falling as expected. Test the charging and discharging functions by connecting a load or a power source. Monitor the system’s performance during these tests, including the voltage, current, and temperature.
- Alarm testing: Test the alarm system by simulating different fault conditions, such as overvoltage, overcurrent, or high temperature. Ensure the alarms sound or display correctly and that the system takes appropriate action (e.g., shutting down to prevent damage). It’s like putting your new energy – storage pet through its paces to make sure it’s healthy and happy. In a quality control study of BESS installations, it was found that 15% of the installed systems had initial performance issues that were detected during post – installation testing. Timely identification and rectification of these issues can significantly improve the long – term reliability of the BESS.
About Maxbo Solar: Your Energy – Saving Partner
Hey there! I’m from Maxbo Solar, and we’re like the superheroes of the solar and energy – storage world. At Maxbo Solar (www.maxbo – solar.com), we’ve been helping folks like you harness the power of the sun and store that energy efficiently with our top – notch BESS containers. We’ve got a team of experts who know these systems inside out, like a mechanic who knows every nook and cranny of a high – performance car. Our BESS containers are not only reliable but also designed to be easy to install, just like we’ve described in this guide. We use high – quality components that meet international standards, and our installation manuals are detailed and easy to follow, making the installation process a breeze even for those with limited experience.
We’re here to make your energy – saving journey as smooth as possible. So, if you ever need any help or have questions about BESS containers or solar energy in general, don’t hesitate to reach out. Our technical support team is available 24/7 to assist you with any issues you may encounter. We also offer training programs for installers to ensure they have the knowledge and skills to install our BESS containers correctly.

